I think Halloween may be my favourite occasion! I just love dressing up, doing makeup and all the decorations. So fun! I whipped up this super cute quick pumpkin pattern to share with all of you. I can’t wait to add it to my Halloween decorating this year.

Materials needed:
- worsted weight yarn in orange and green
- 5.00mm hook
- 9mm safety eyes
- polyester fibrefill
- yarn needle
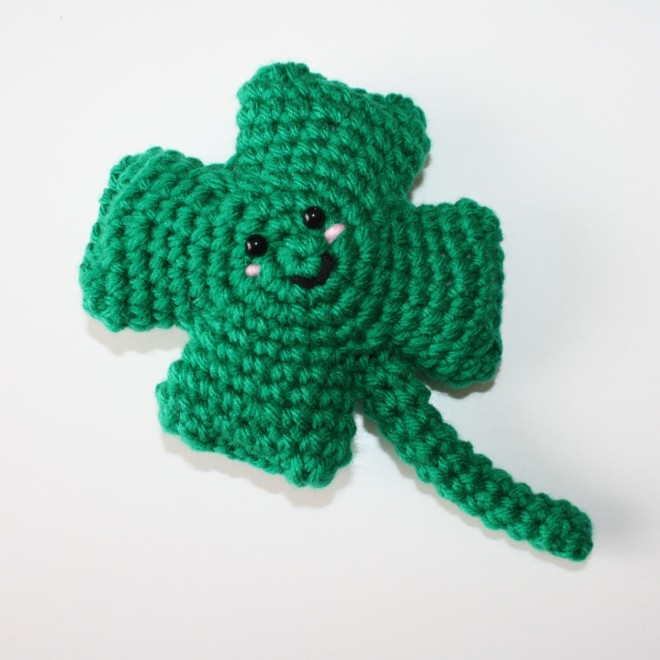
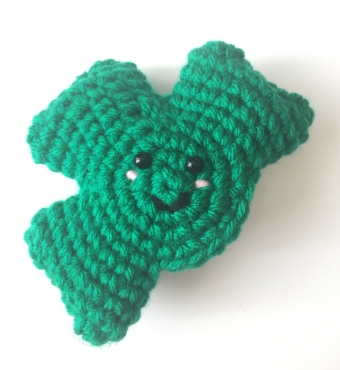
pumpkin
Row 1. ch 26(leaving a long tail for gathering later), starting in 2nd ch from hook, hdc 25 across
Row 2 -30. working in back loop only, hdc 24 across
Fasten off leaving a long tail on this side for gathering as well.

- using a baste stitch along one long end, gather closed and secure tightly
- sew closed along the short end

- attach safety eyes and embroider on a mouth
- baste the other long end and gather at the top, stuff before closing and secure tightly
Stem – using green(or brown your choice 🙂
Round 1. sc 6 in magic ring
Round 2-6, sc around (6 sts)
Vine – ch 21, starting in 2nd chain from hook, 2sc in each ch across
- sew stem and vine onto the top of pumpkin


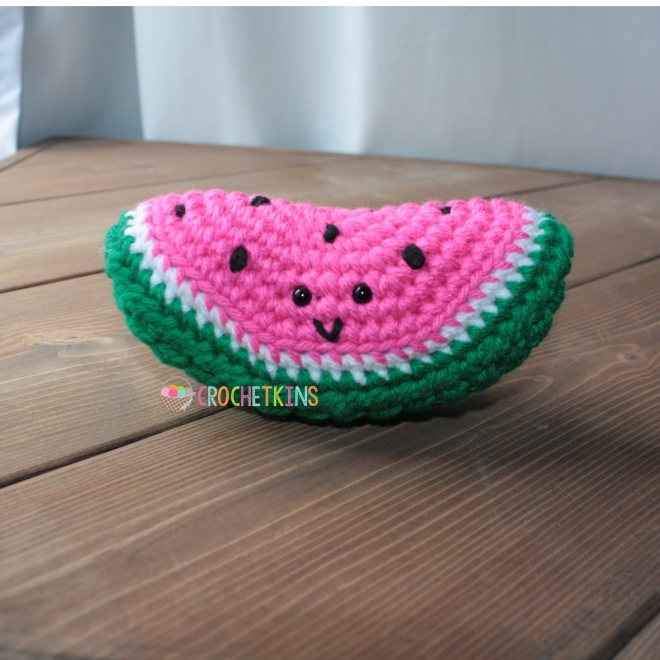 Watermelon slice